Creating a Landing Page Using MailChimp
Getting Started
Various versions of Landing Pages have been around for a long time. I remember looking at some in the early 2000s and they were long, full of text, bolding, highlighting and basically annoying. I suppose that some people subscribed but I sure wasn’t me.
Landing pages have gotten much more sophisticated since then, and cheaper. In this article, we are going to look at how to build a landing page using MailChimp. I really like MailChimp as a platform for learning. The technology and things that can be done using MailChimp are quite incredible. AND FOR FREE, well at least it is free if you have less than 2,000 contacts.
Here is what you need before you get started:
An account on MailChimp - easy, just sign up at https://mailchimp.com/
An email address that you can use for testing - easy, just use Gmail, https://www.google.com/intl/en-GB/gmail/about/
A PDF ebook that you can offer as a giveaway - easier said than done and a great idea for a future blog post
A web page where the ebook resides. This can be a bit tricky because it depends on what platform you are using for your website and how well you know the platform to add a page and a link to the PDF. Here is a link to an example from a campaign that we set up: https://www.anduro.com/business-coaches-survey-results-download
A logo or an image for the landing page - not critical but a good idea
An idea of why you are doing this and what you want your audience to do after they download the ebook
1. Create an Audience
You need to have a place that stores a list of contacts. In MailChimp, this is called an Audience but creating the audience (or List is a little tricky). The simplest way to log in and go to https://us14.admin.mailchimp.com/lists/.
Alternatively, you can click on Audiences, then under Current Audience click View Audiences, and finally click on on the grey Create Audience button on the right.

Skip Tags, you can learn about that another time.
Click Create Audience.

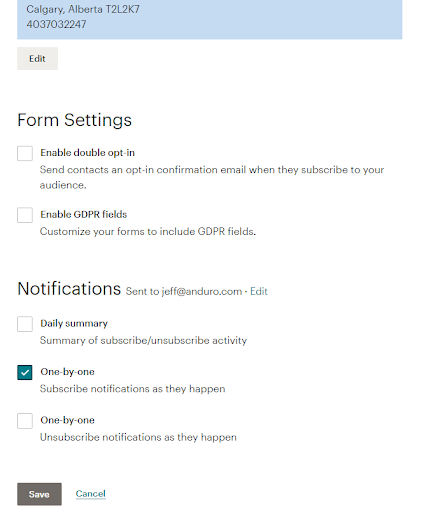
Fill out the Audience details.

Skip Form Settings.
Select the Notifications that you want.
Save.
2. Create a Landing Page
Next, click the green Create button at the top right of the page.

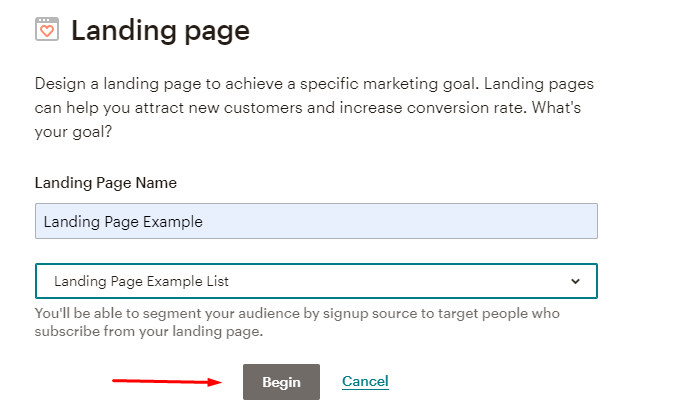
Select Landing Page.

Give it a name.
Select the Audience.
Begin.
Select a Template - e.g. Grow Your List

Add a Logo or an Image.

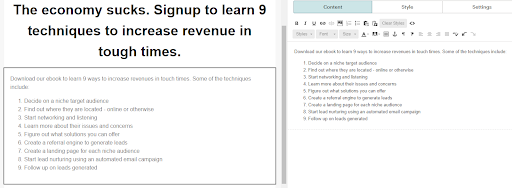
Add a heading.

Add some details and information.
Complete “A few more things to do.”

And publish
Done! Have a look: https://mailchi.mp/anduro/landing-page-example1
Comments
There are other ways to do landing pages but this is a start - at least for learning. You may want to try creating the page on your website and adding a form from MailChimp to the page. That is a little more professional because the URL of the landing page is actually hosted on your hosting server.
Let me know what you think.
Jeff Nelson